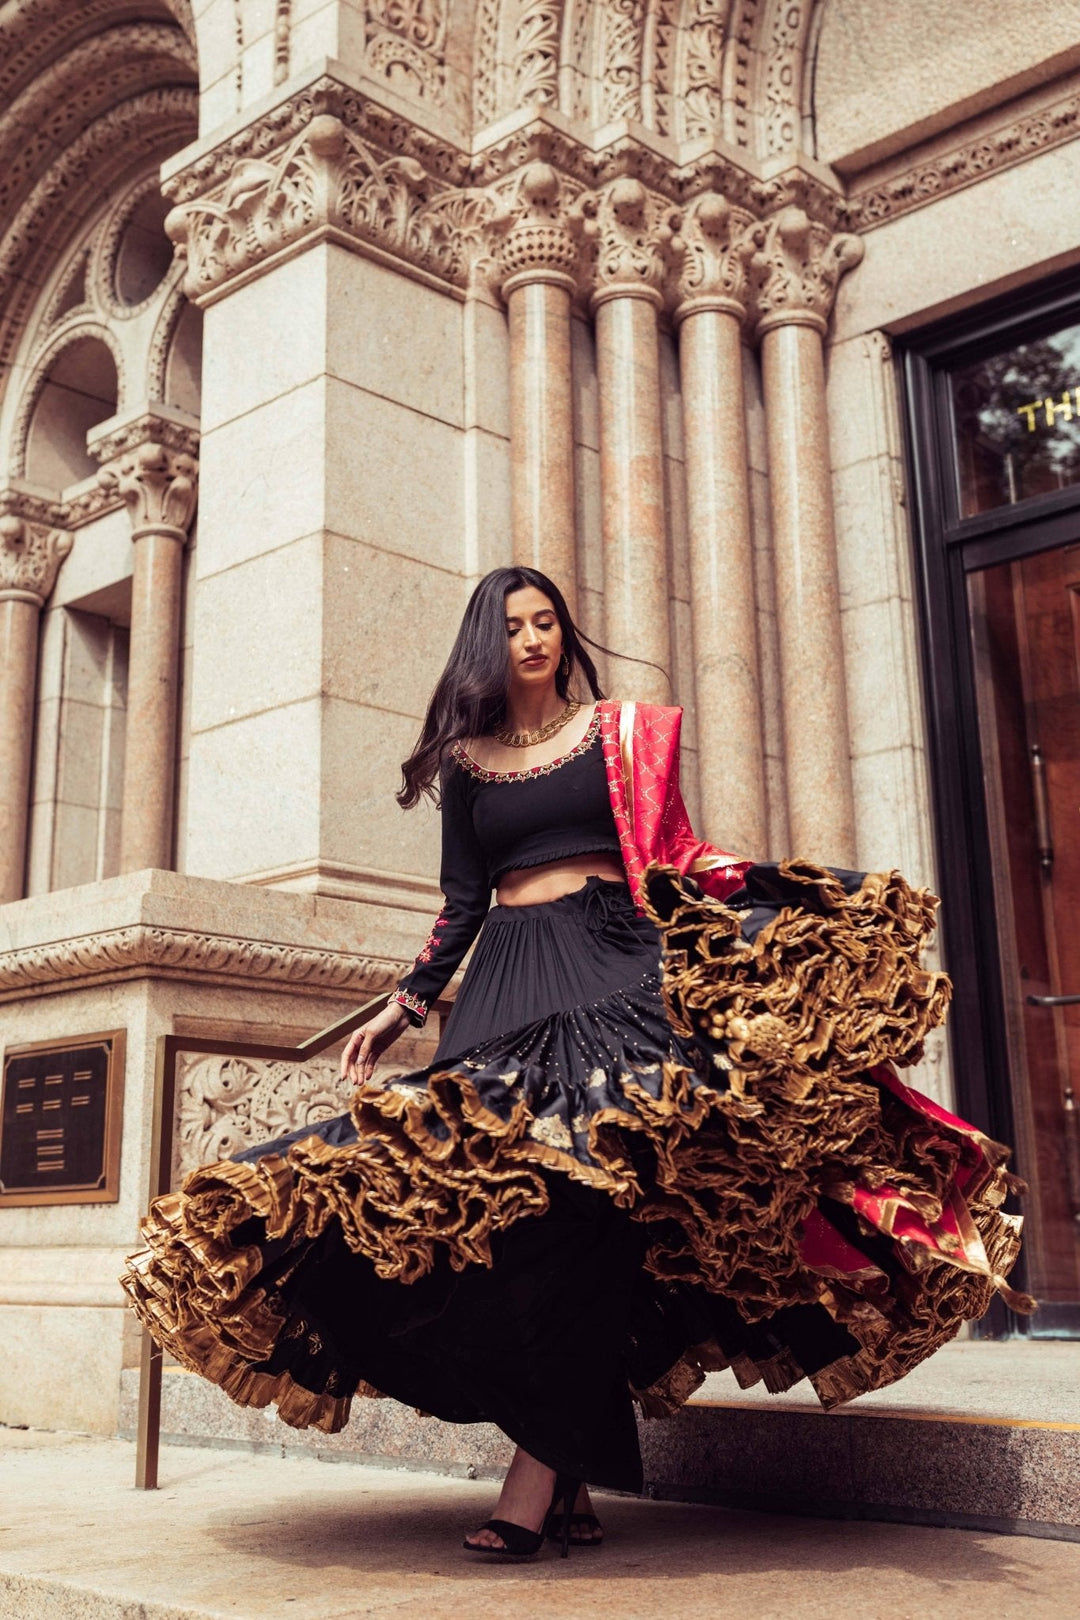
How to Tie a Lehenga Properly
Tying a lehenga correctly helps ensure comfort, support, and a polished look throughout weddings and festive events. This step-by-step guide explains how to secure your lehenga waistband safely so it stays in place while walking, dancing, and celebrating.
If you are unsure about sizing or measurements, visit our Size Chart and Measurement Guide for additional guidance.
Check our Video Guide
What You Need Before Tying a Lehenga
- Your lehenga skirt
- Matching blouse and dupatta
- Comfortable footwear
- A mirror for proper positioning
Step 1: Wear the Blouse First
Put on your blouse before tying the lehenga. This allows you to adjust the waistband comfortably and position the skirt at the correct height.
Step 2: Step Into the Lehenga
Hold the waistband open and step into the skirt carefully. Pull the lehenga up to your natural waistline, which is typically the narrowest part of your torso.
Step 3: Adjust the Length
Make sure the hemline falls just above the floor or ankle depending on your footwear. Check the length while standing naturally.
Step 4: Tighten the Drawstring or Hook
If your lehenga has a drawstring, pull both ends evenly to tighten the waistband. If it has hooks or a zipper, secure them gently without forcing.
Step 5: Tie a Secure Knot
Tie the drawstring firmly but comfortably. The lehenga should feel secure without digging into the waist.
Step 6: Adjust the Pleats and Waistband
Smooth the fabric around the waist and distribute the flare evenly. Ensure the waistband sits flat and does not twist.
Helpful Tips for Comfort and Support
- Keep the waistband at your natural waist for better balance
- Avoid tying the lehenga too tightly
- Check movement by walking and sitting briefly
- Use a safety pin if additional security is needed
Common Mistakes to Avoid
- Tying the lehenga too low on the hips
- Pulling the drawstring too tightly
- Ignoring uneven hem length
- Skipping a movement test before leaving home